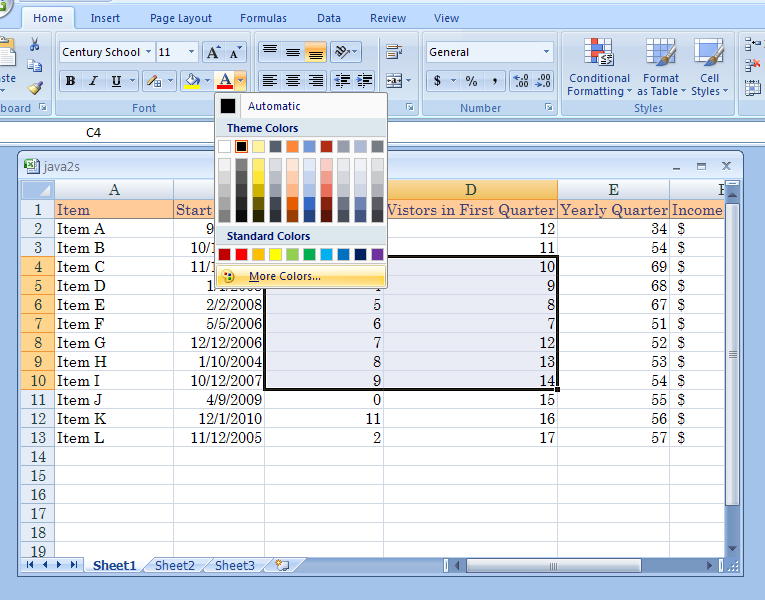
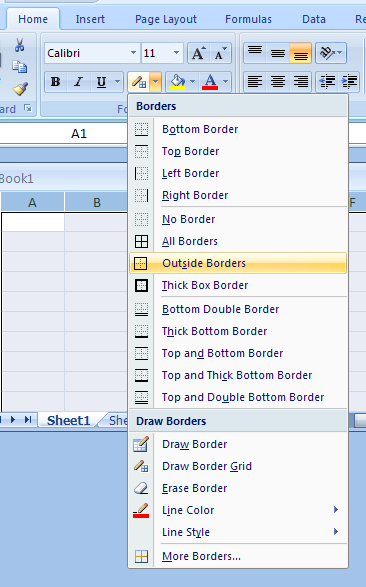
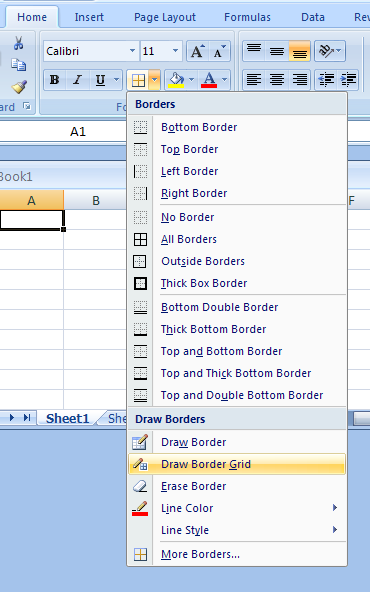
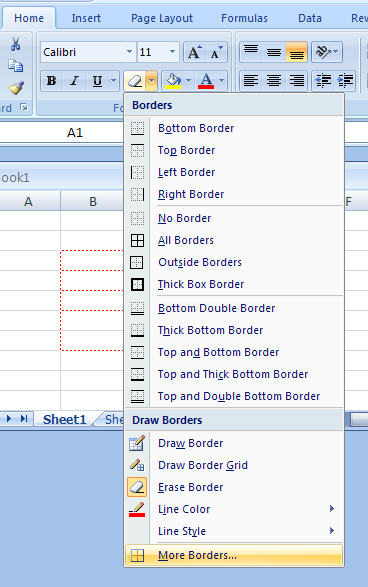
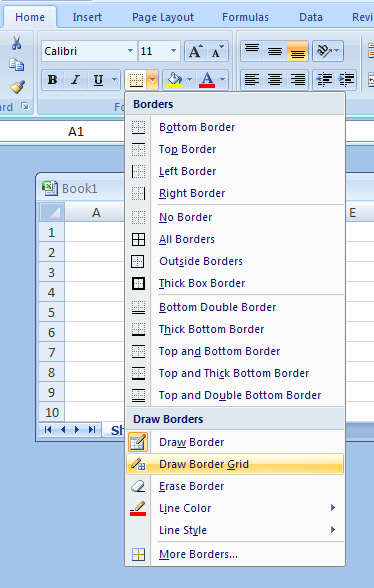
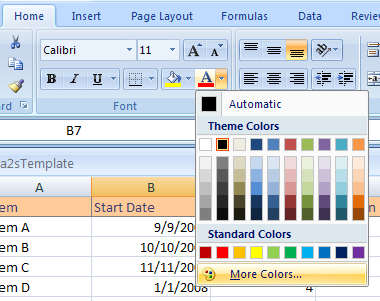
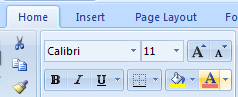
Click the Home tab.
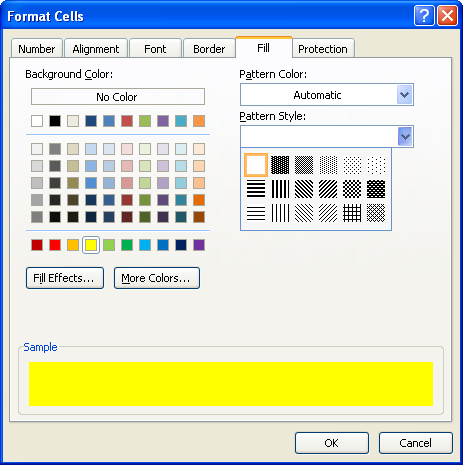
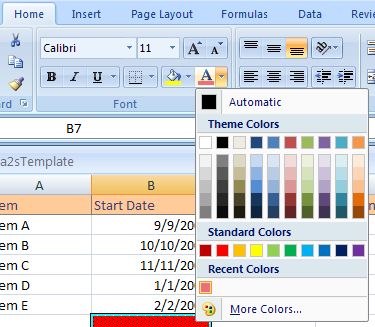
Click the Font Color button and then click More Colors.
|
|
 |
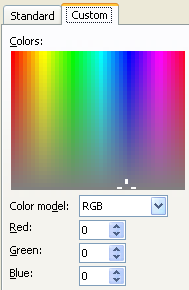
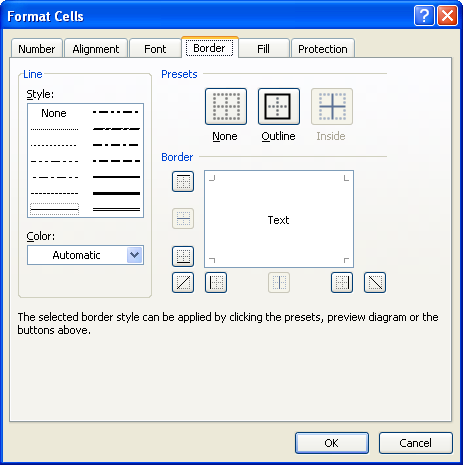
Click the Color Mode list arrow, and then click RGB or HSL.
|
|
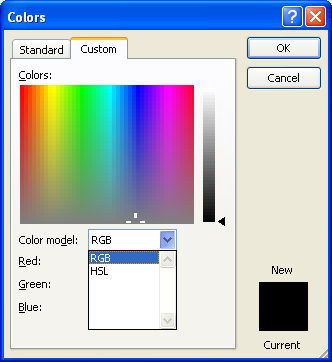 |
If you know the color values, enter Hue, Sat,
Lum, or Red, Green, and Blue.
|
|
 |
Drag across the palette to choose the color.
|
|
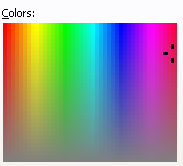 |
Drag the black arrow to adjust the amount
of black and white in the color.
|
|
 |
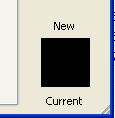
The new color appears above the current
color at the bottom right.
           Click OK.
|
|
 |
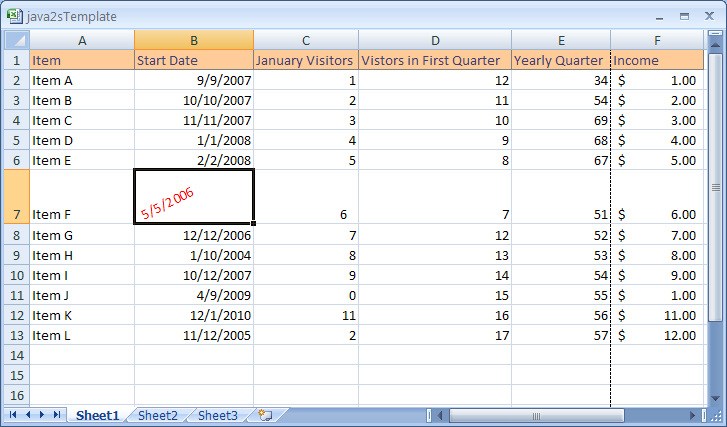
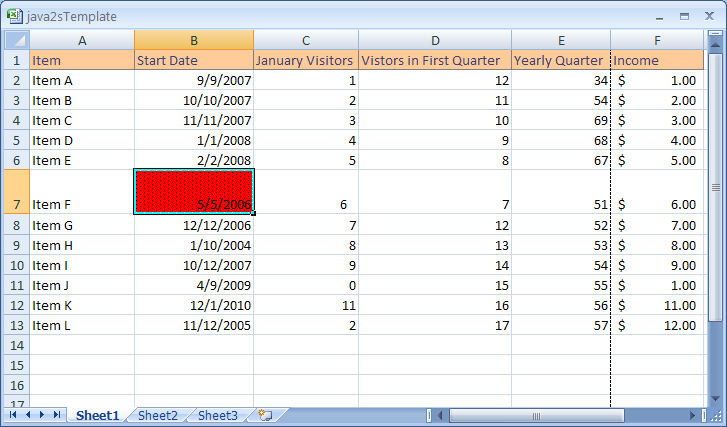
The current selection is changed to the new color
|
|
 |
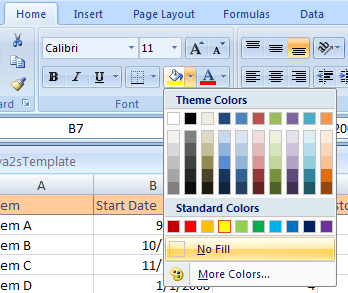
And the new color is added to the Recent
Colors section of all workbook color menus.
|
|
 |