Thursday 20 September 2012

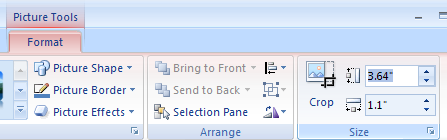
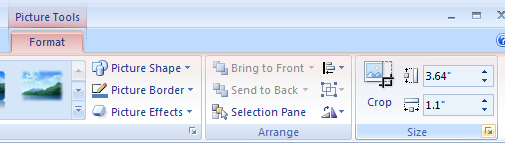
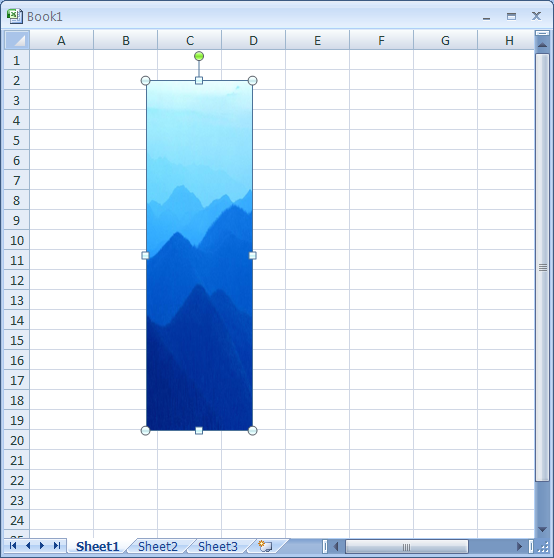
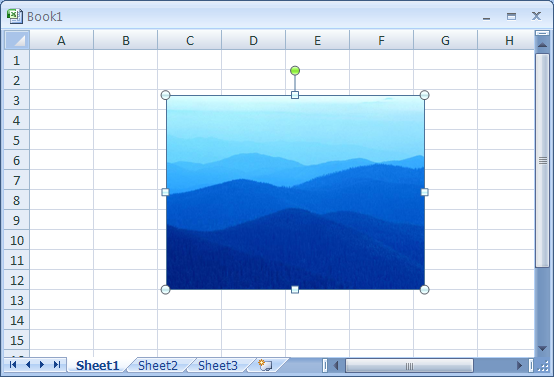
Resize a Picture Precisely

Click the picture. 
Click the Format tab under Picture Tools. 
Click the up and down arrows or enter a number in 
the Height and Width and press Enter.
Click the picture. Click the Format tab under Picture Tools. Click the up and down arrows or enter a number in the Height and Width and press Enter.
Click the Size Dialog Box Launcher to change the option.
Click the Size Dialog Box Launcher to change the option.

Resize a Picture

Click the picture. 
Drag one of the sizing handles to increase or decrease the picture's size. 
Drag a middle handle to resize the object up, down, left, or right. 
Drag a corner handle to resize the object proportionally.
Click the picture. Drag one of the sizing handles to increase or decrease the picture's size. Drag a middle handle to resize the object up, down, left, or right. Drag a corner handle to resize the object proportionally.

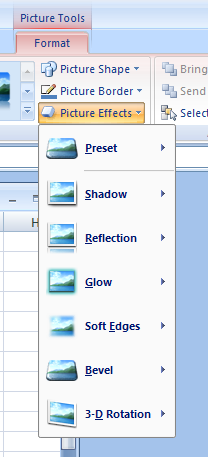
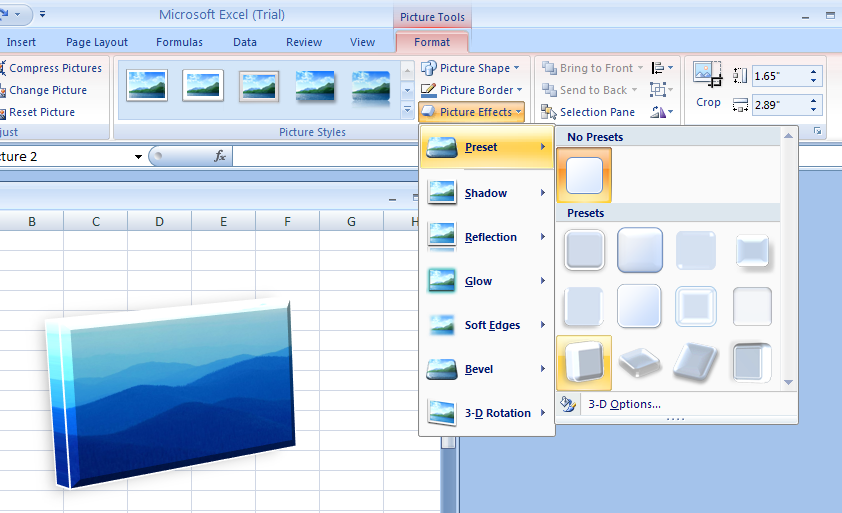
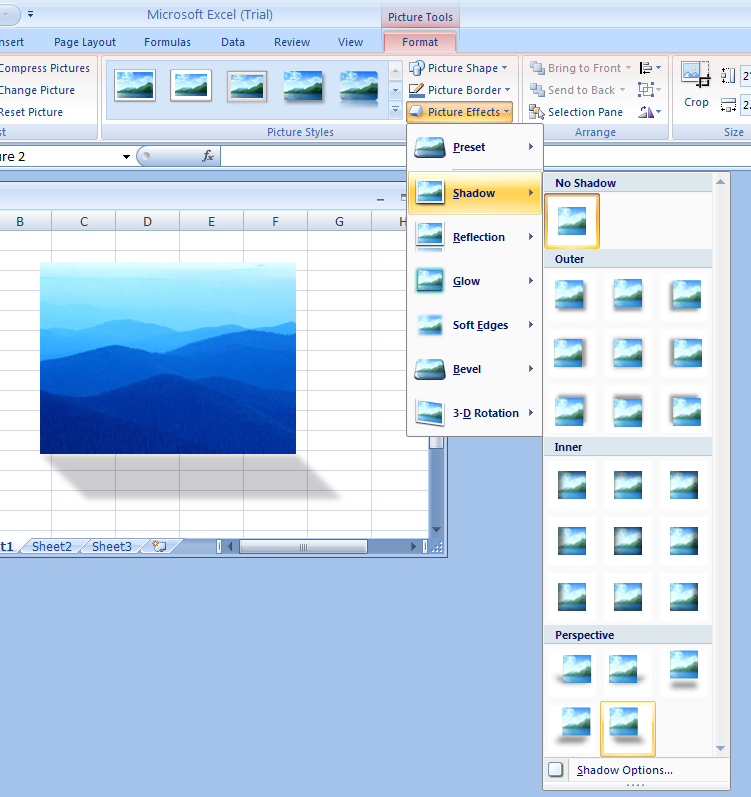
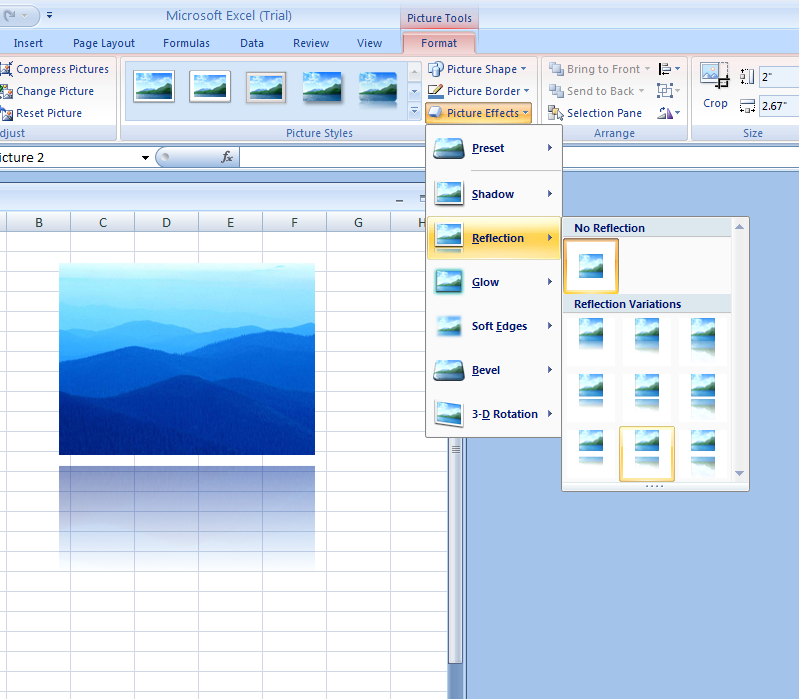
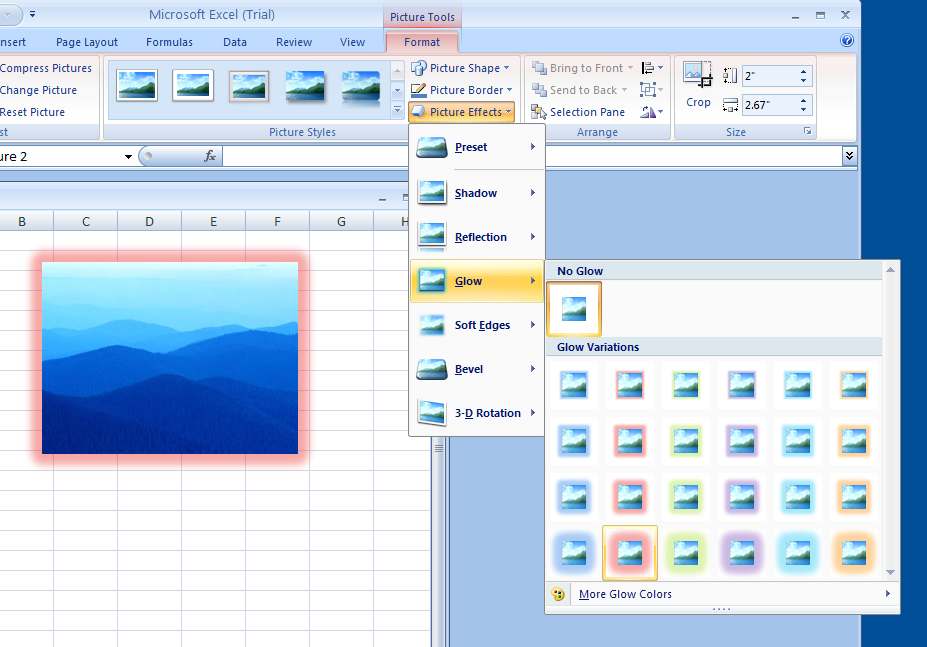
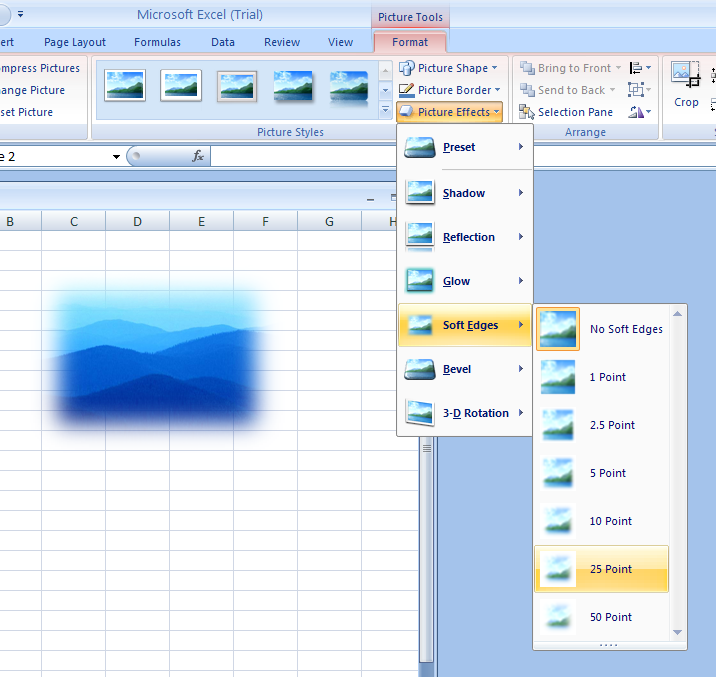
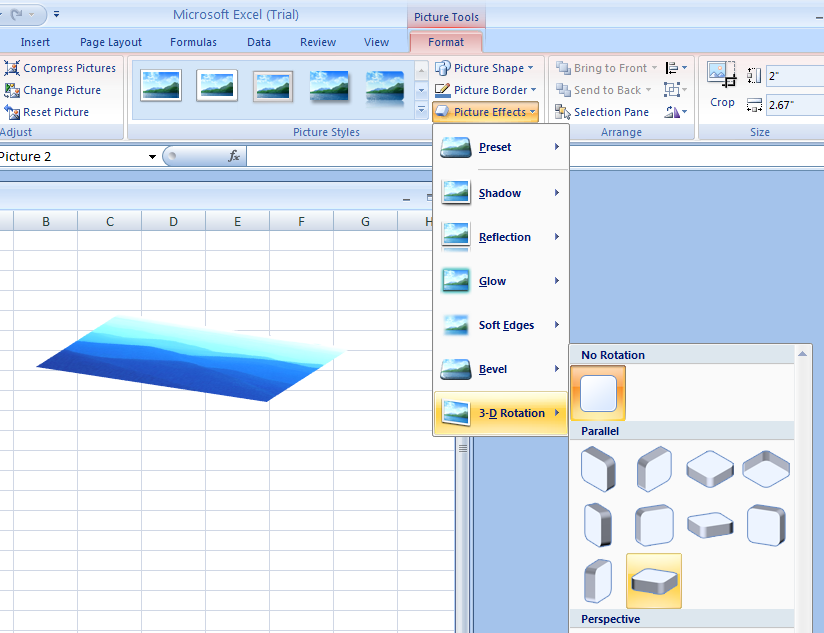
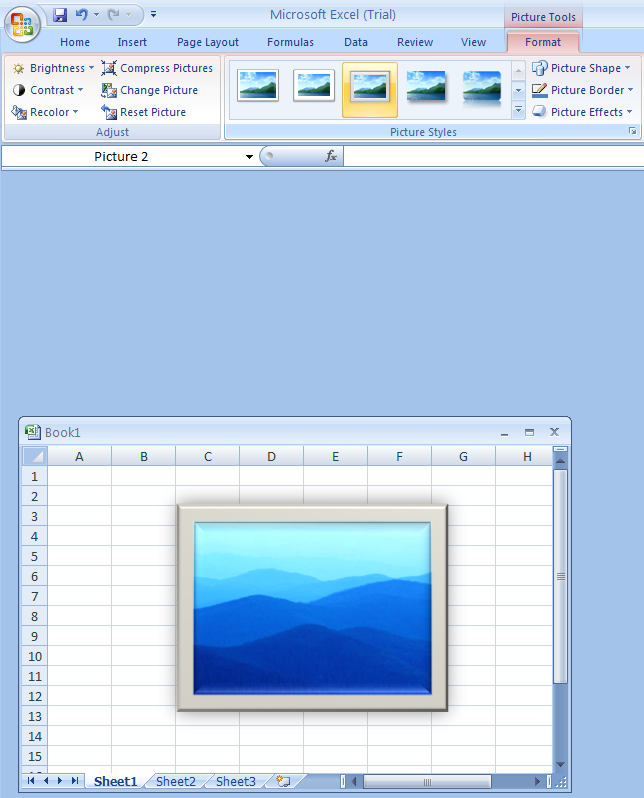
Add an Effect to a Picture

Click the picture. 
           Click the Format tab under Picture Tools. 
           Click the Picture Effects button
Click the picture. Click the Format tab under Picture Tools. Click the Picture Effects button
When you point to an effect, a live preview of the 
style appears in the current shape.
When you point to an effect, a live preview of the style appears in the current shape.
Shadow
Click Shadow to select No Shadow
Reflection
Click Reflection to select No Reflection or one of the Reflection Variations.
Glow
Click Glow to select No Glow
Soft Edges
Click Soft Edges to select No Soft Edges
3-D Rotation
Click 3-D Rotation to select No Rotation

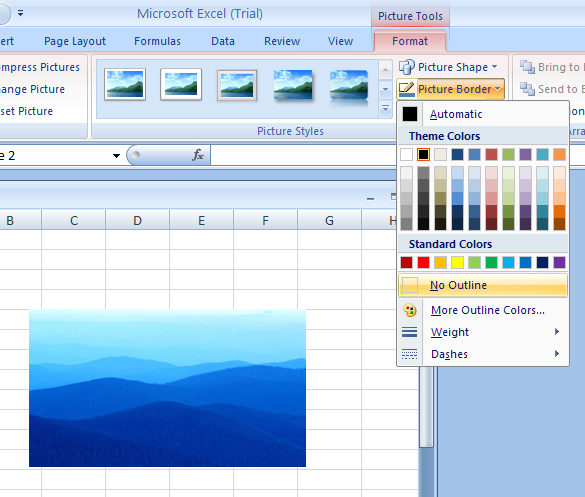
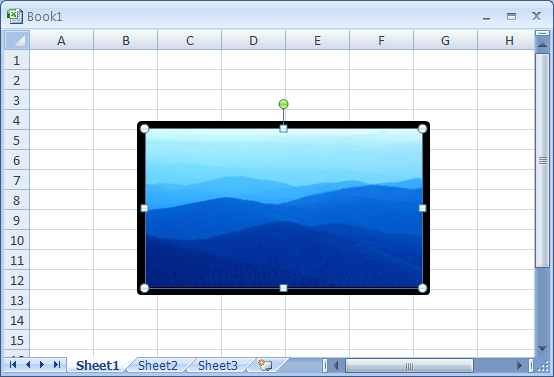
Remove a border from the picture

Select the picture. 
           Click the Format tab. 
           Click the Picture Border button. 
           Click No Outline.
Select the picture. Click the Format tab. Click the Picture Border button. Click No Outline.

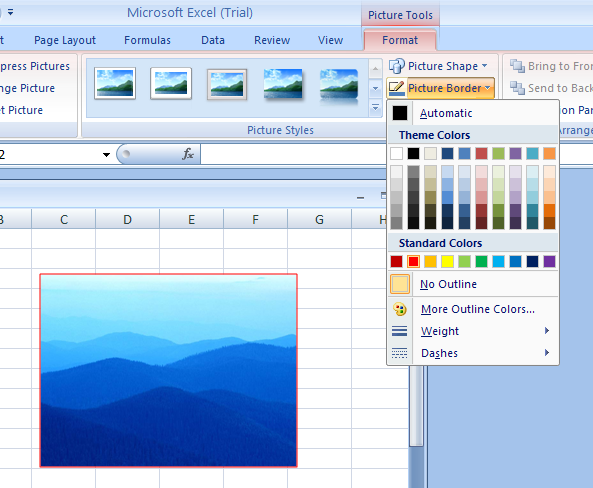
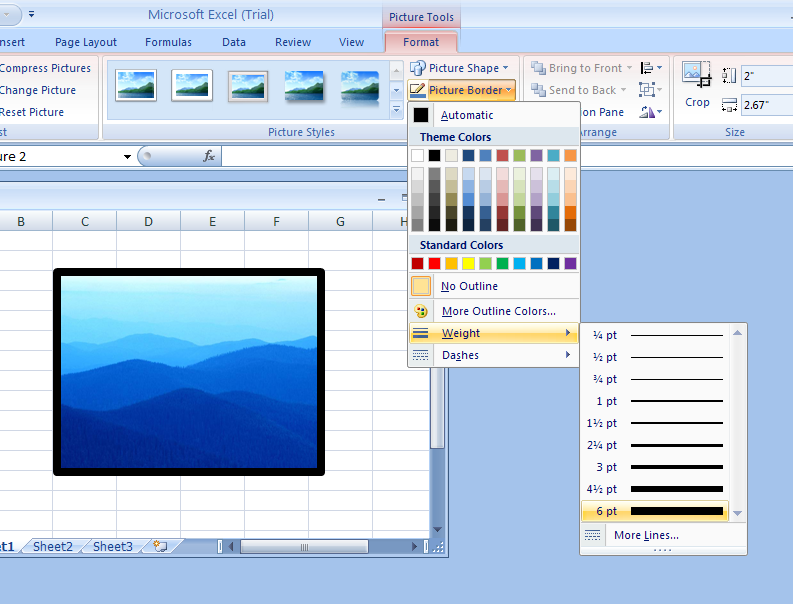
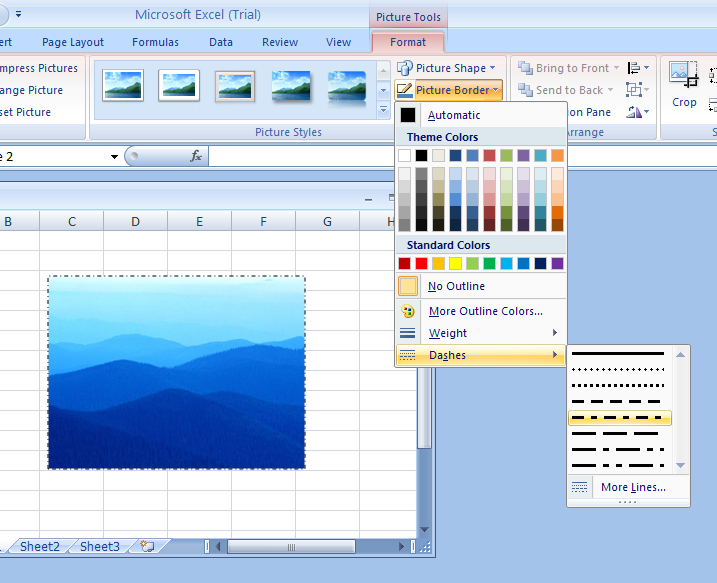
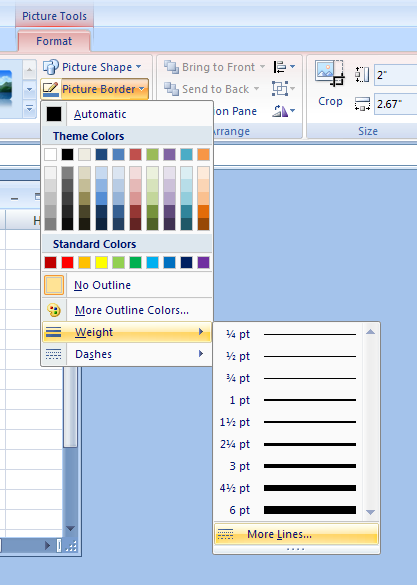
Apply a Border to a Picture

Click the picture. 
           Click the Format tab under Picture Tools. 
           Click the Picture Border button. Click a color
Click the picture. Click the Format tab under Picture Tools. Click the Picture Border button. Click a color
Point to Weight
Point to Weight
Point to Dashes
Point to Dashes
Or click More Lines to select multiple options.
Or click More Lines to select multiple options.
Drag a sizing handle to change the size or angle 
of the line or arrow.
Drag a sizing handle to change the size or angle of the line or arrow.

Return a picture back to its original form

Select the picture. 
           Click the Format tab. 
           Click the Reset Picture button.
Select the picture. Click the Format tab. Click the Reset Picture button.

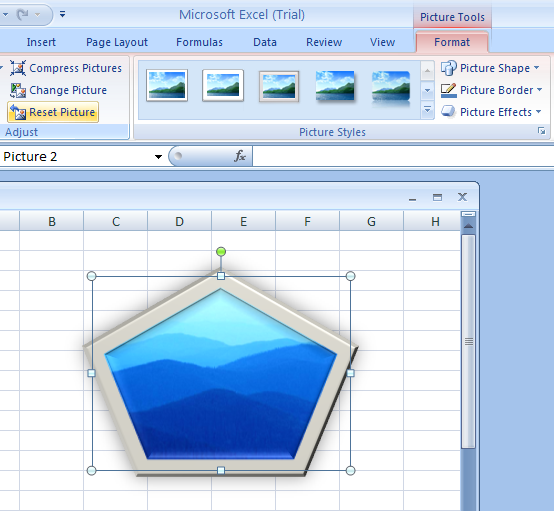
Apply a Shape to a Picture

Click the picture. 
           Click the Format tab under Picture Tools. 
           Click the Picture Shape button.
Click the picture. Click the Format tab under Picture Tools. Click the Picture Shape button.
Select the shape to apply to the selected picture.
Select the shape to apply to the selected picture.
Picture with shape.
Select the shape to apply to the selected picture.

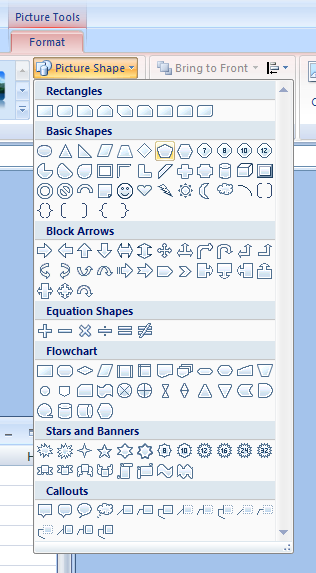
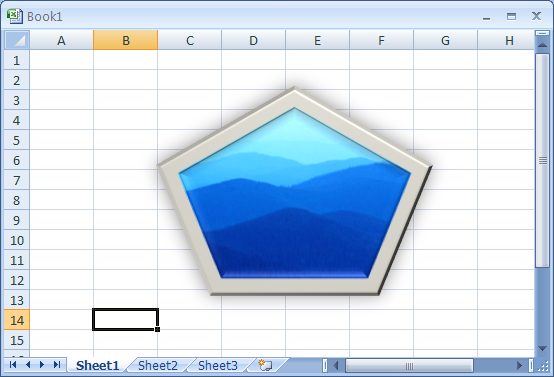
Add a Quick Style to a Picture
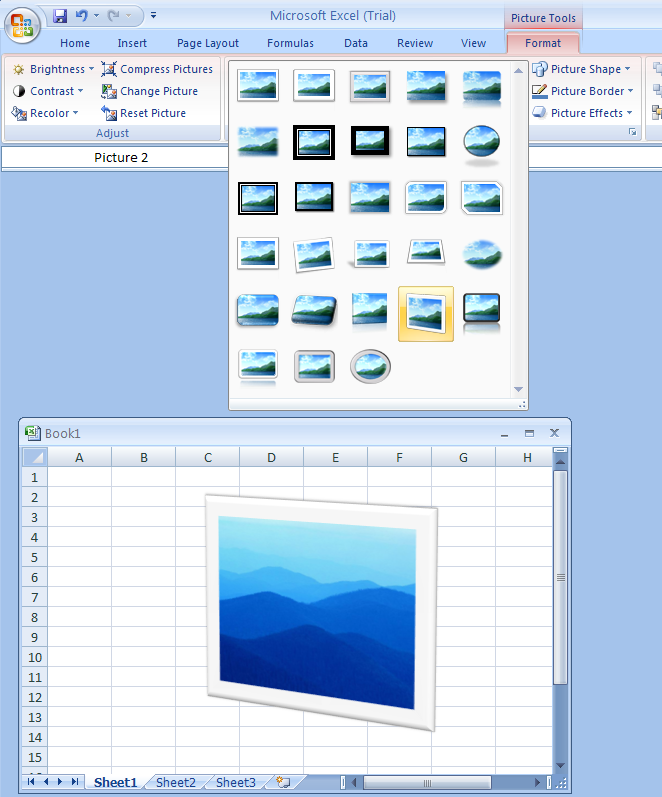
Click the picture. 
Click the Format tab under Picture Tools. 
Click the scroll up or down arrow to see additional styles. 
The current style appears highlighted in the gallery.
The current style appears highlighted in the gallery.
Point to a style. 
A live preview of the style appears in the current shape. 
Click the style from the gallery to apply it to the selected picture.
Point to a style. A live preview of the style appears in the current shape. Click the style from the gallery to apply it to the selected picture.
Picture with Quick Style
Picture with Quick Style

Change a picture

Select the picture. 
Click the Format tab. Click the Change Picture button
Select the picture. Click the Format tab. Click the Change Picture button
Select a picture. Click Insert.
Select a picture. Click Insert.
Picture changed.
Picture changed.

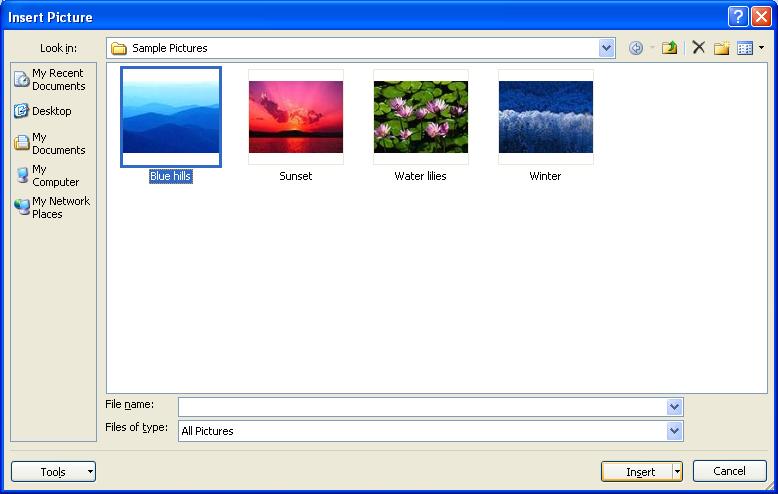
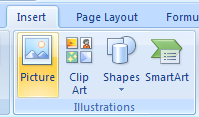
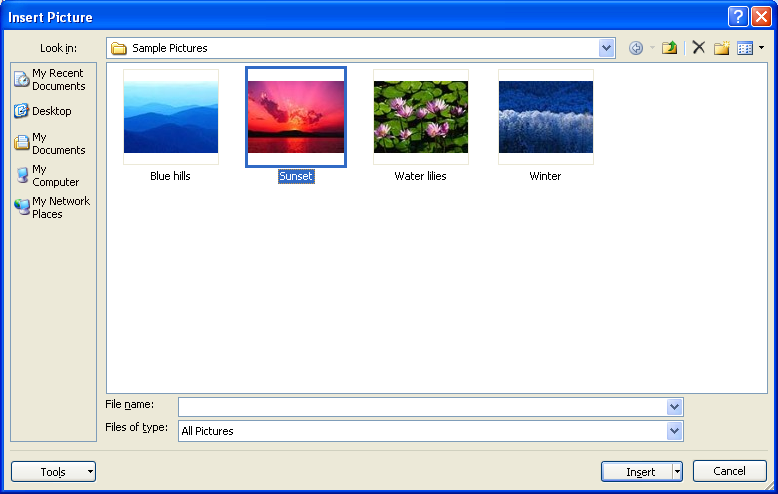
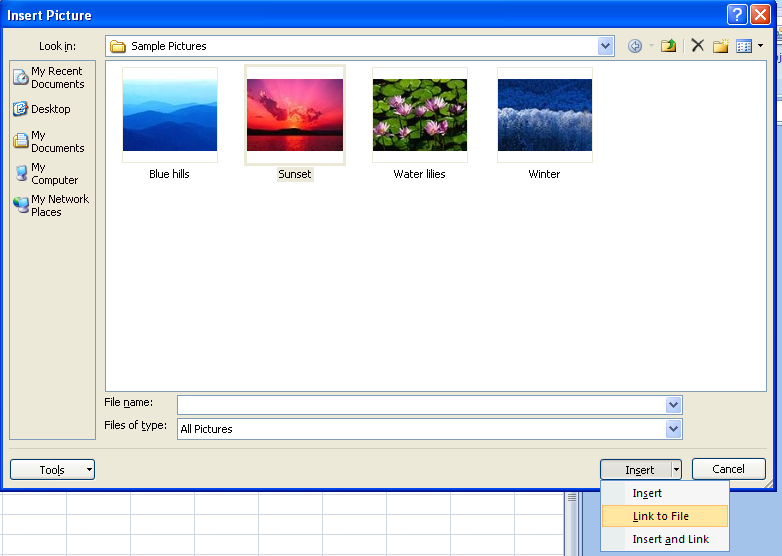
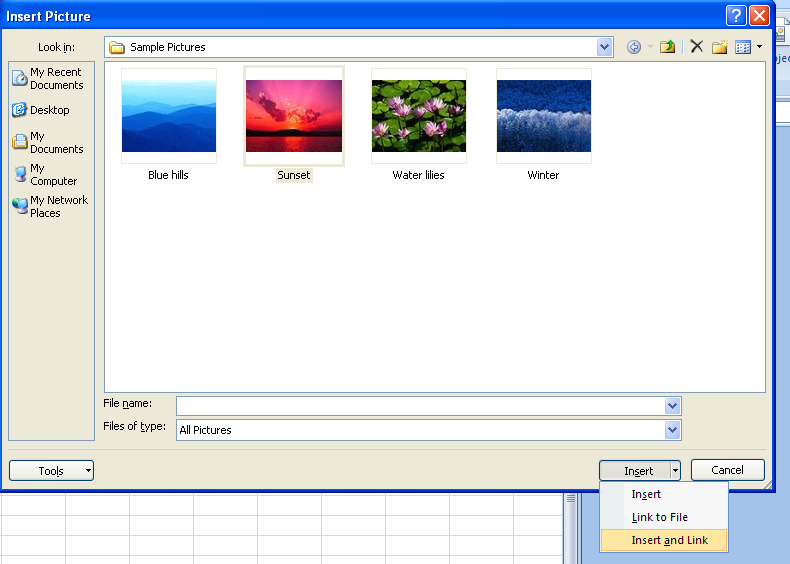
Insert a Picture from a File
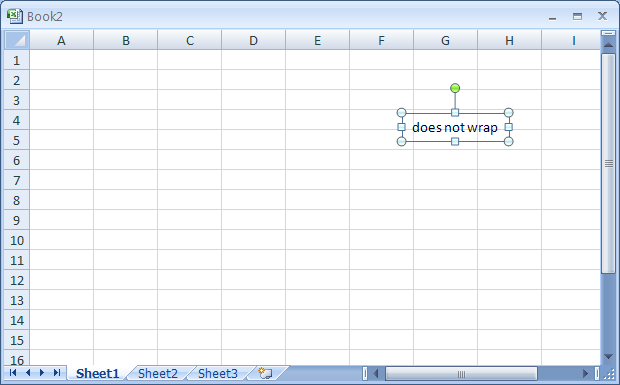
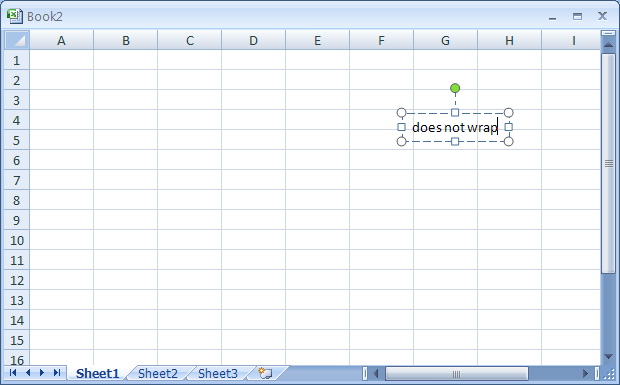
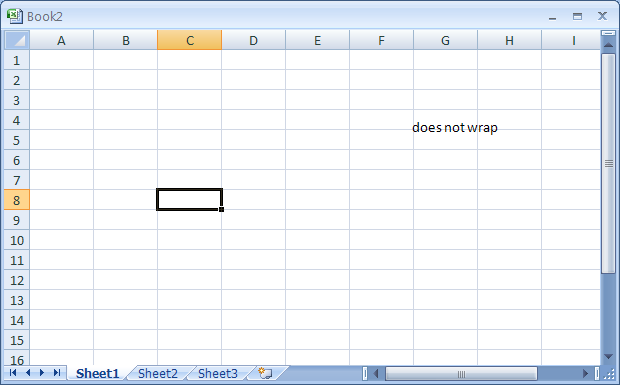
Click the Insert tab. 
           Click the Picture button.
Click the Insert tab. Click the Picture button.
Click the file you want to insert.
Click the file you want to insert.
To link a picture file, click the Insert button arrow,
 and then click Link to File.
To link a picture file, click the Insert button arrow, and then click Link to File.
To insert and link a picture file, click the Insert
 button arrow, and then click Insert and Link.
To insert and link a picture file, click the Insert button arrow, and then click Insert and Link.

Delete a text box

Select a text box. Then press Delete.
Select a text box. Then press Delete.

Create a Text Box

Click the Insert tab. Click the Text Box button.
Click the Insert tab. Click the Text Box button.
To add text that wraps, drag to create a box, and then start typing.
To add text that doesn't wrap, click and then start typing.
To add text that doesn't wrap, click and then start typing.
Click outside the selection box to deselect the text box.
Click outside the selection box to deselect the text box.

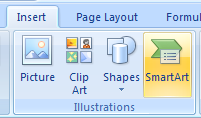
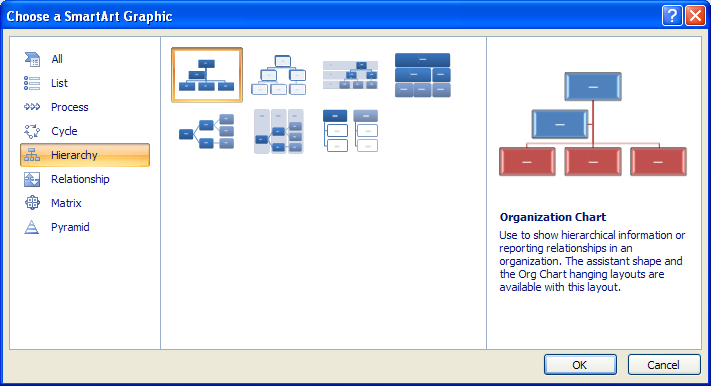
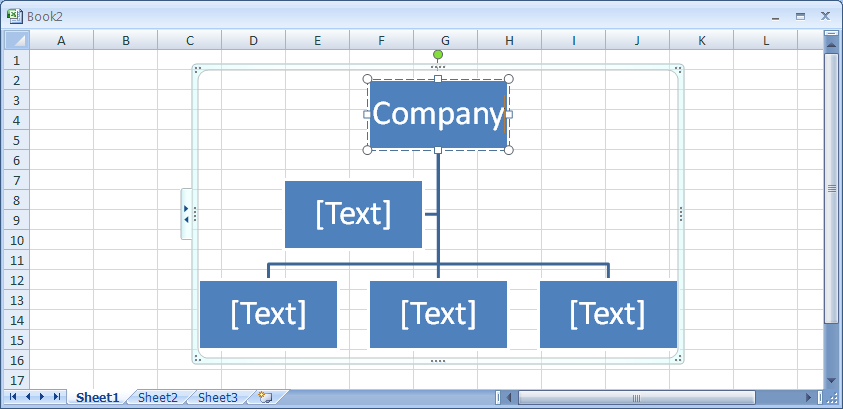
Create an Organization Chart Using a SmartArt Graphic

Click the Insert tab. Click the SmartArt button.
Click the Insert tab. Click the SmartArt button. Then click Hierarchy.
Then click Hierarchy. Click a SmartArt organization chart type. 
           Click OK.
Click a SmartArt organization chart type. Click OK.
The SmartArt graphic appears with a Text pane to insert text.
Type text in the Text box. 
You can use the arrow keys to move around the Text pane. 
Or Click a shape, and then type text directly into the shape.
Type text in the Text box. You can use the arrow keys to move around the Text pane. Or Click a shape, and then type text directly into the shape.

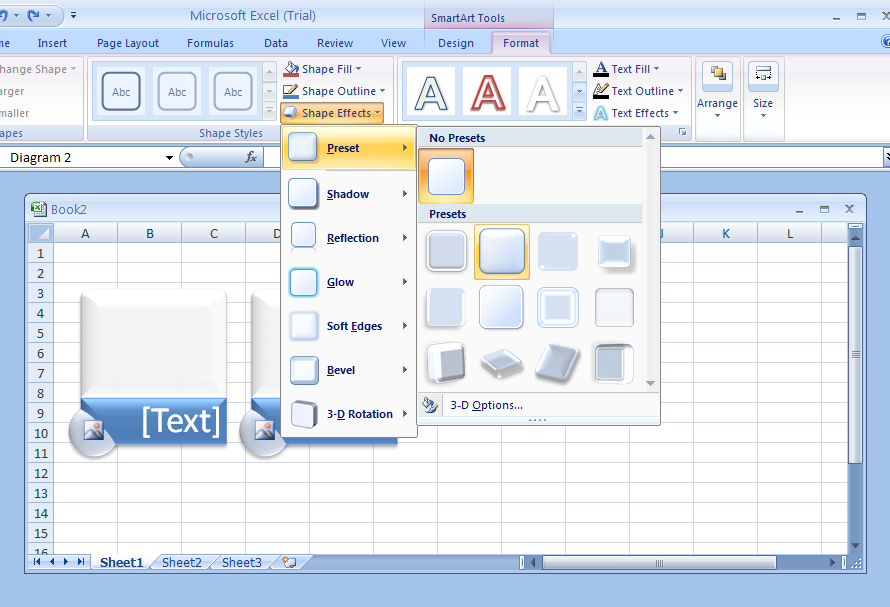
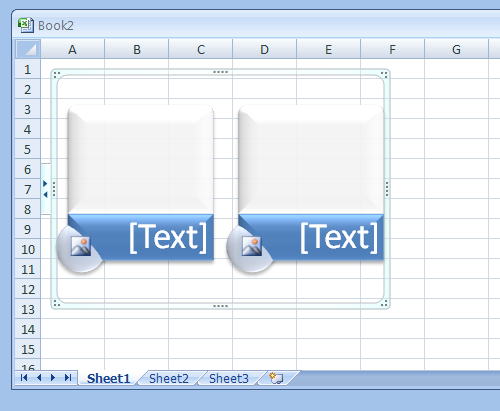
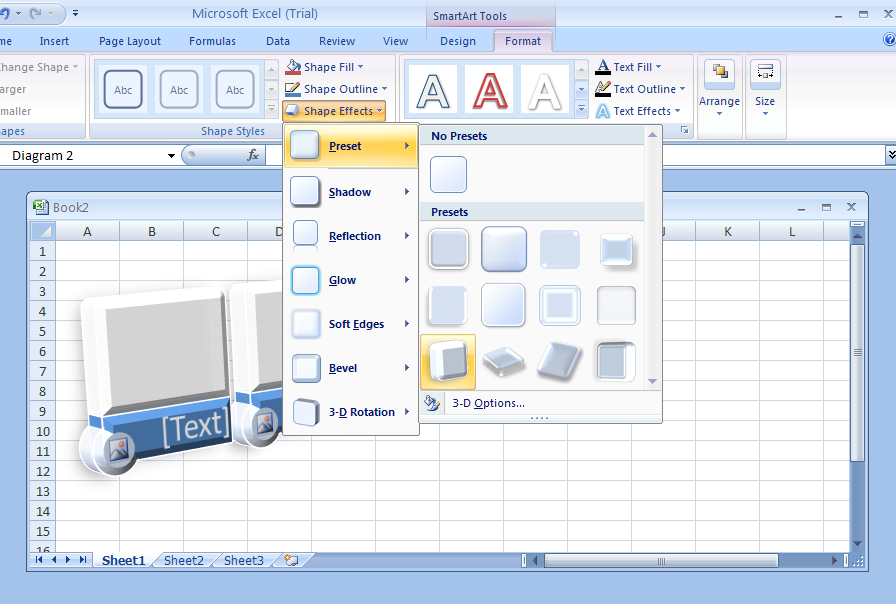
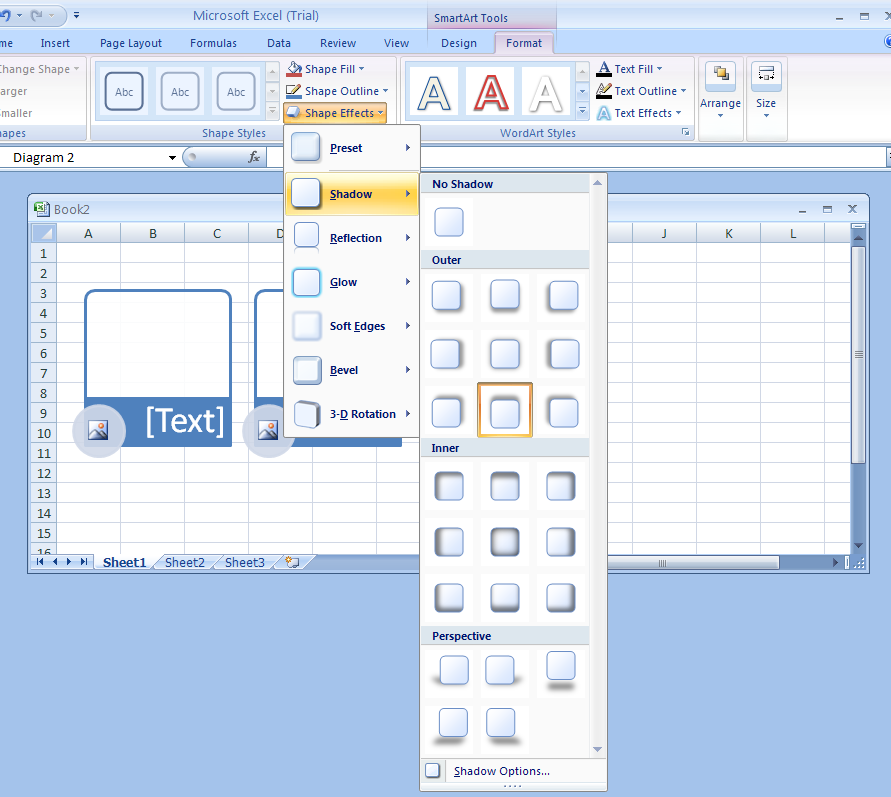
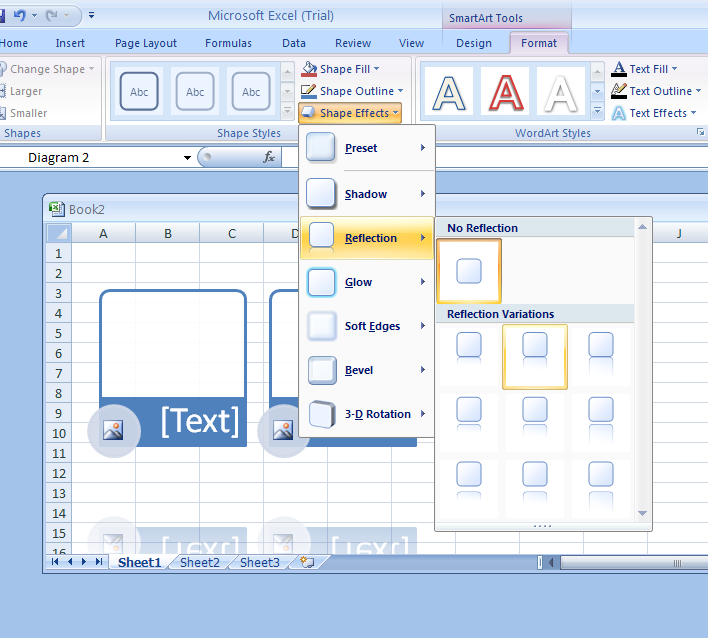
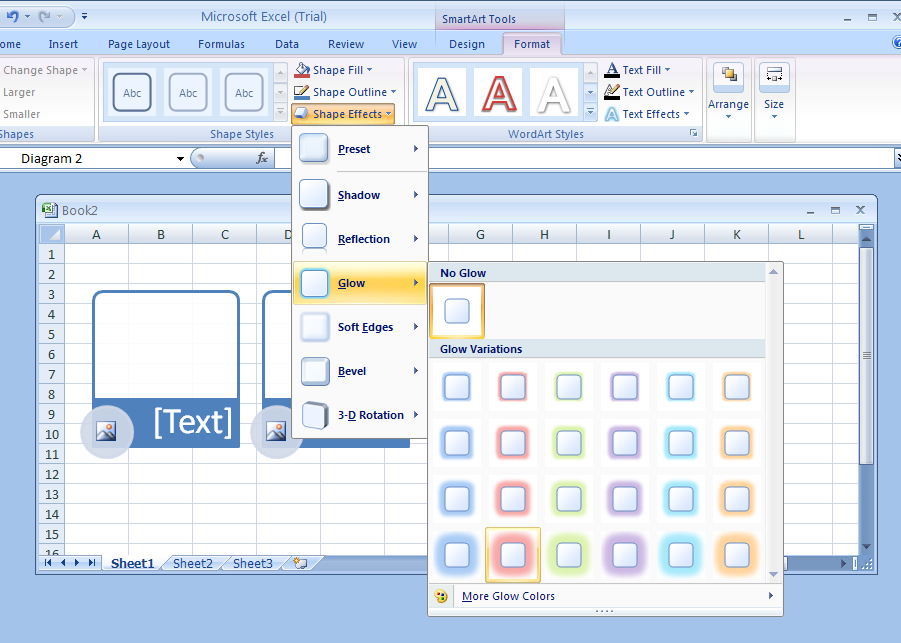
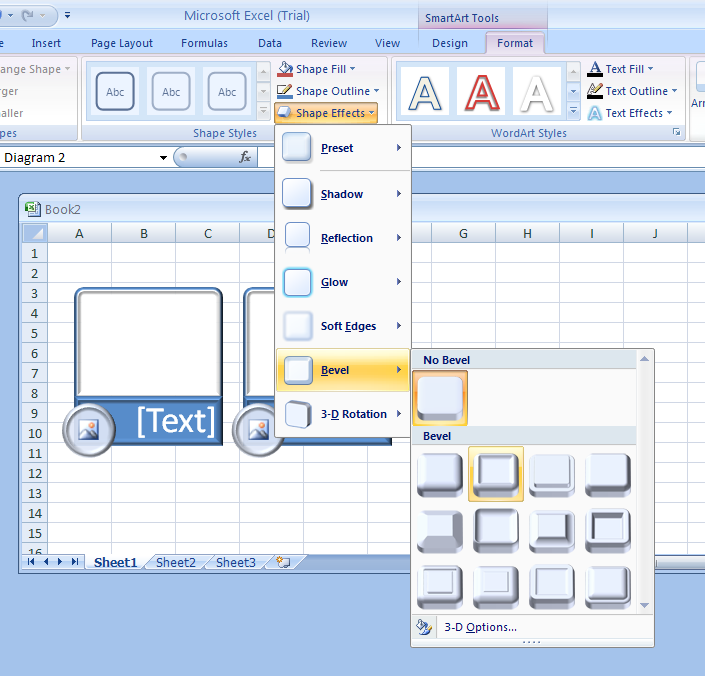
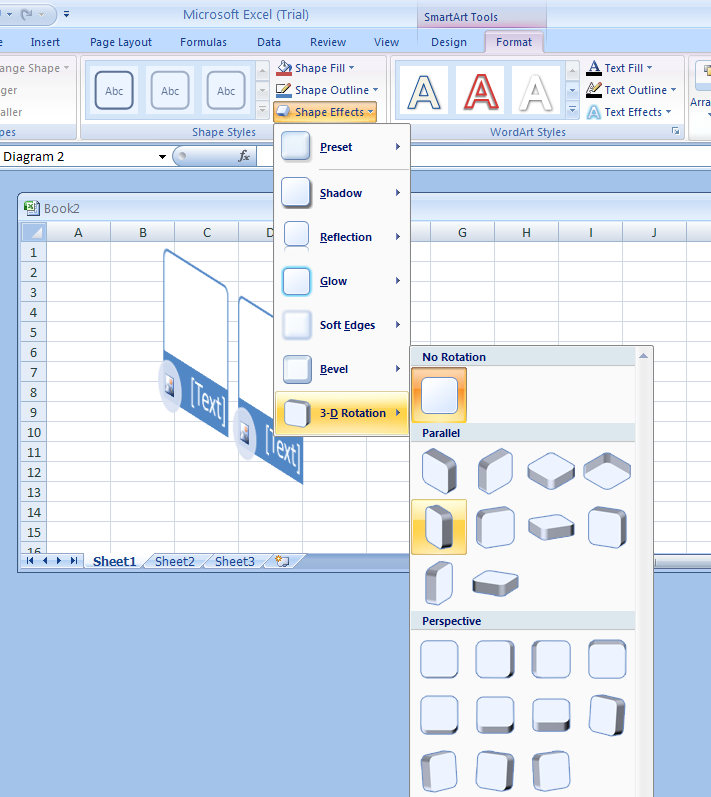
Apply a Shape Effect to a SmartArt Graphic

Select the shapes in the SmartArt graphic. 
           Click the Format tab under SmartArt Tools.
Select the shapes in the SmartArt graphic. Click the Format tab under SmartArt Tools.
Click the Shape Effects button, and a live 
preview appears in the current shape when pointing to an effect.
Click the Shape Effects button, and a live preview appears in the current shape when pointing to an effect.
Click the effect from the gallery to apply it to the selected shape.
Click the effect from the gallery to apply it to the selected shape.
3D.
3D.
Shadow.
Shadow.
Reflection.
Reflection.
Glow Colors.
Glow Colors.
Soft edge.
Soft edge.
Bevel.
Bevel.
3D Rotation.
3D Rotation.

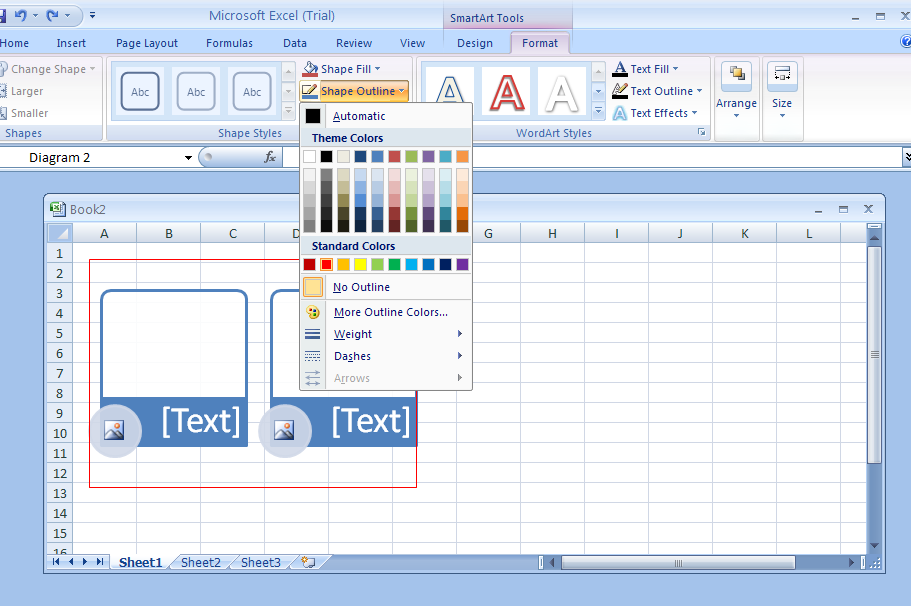
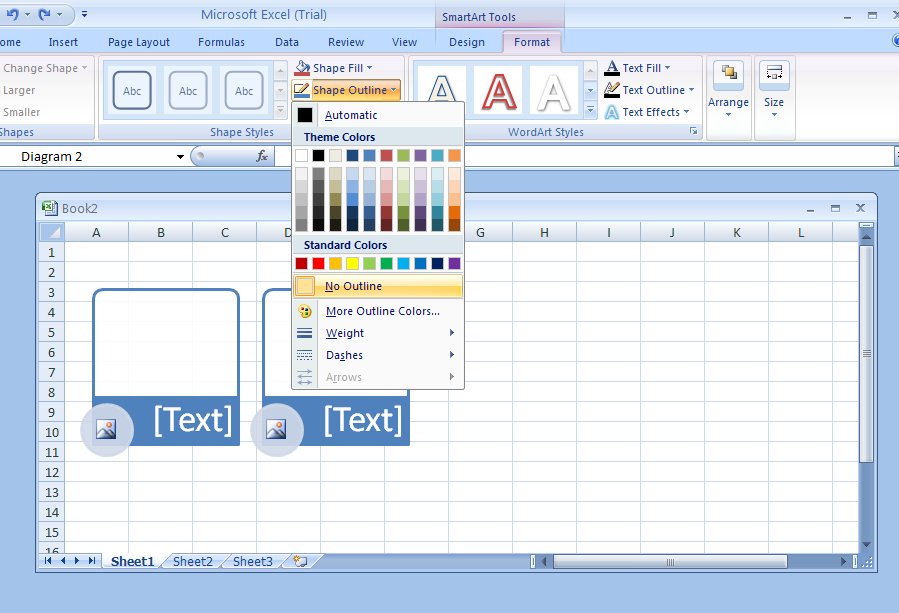
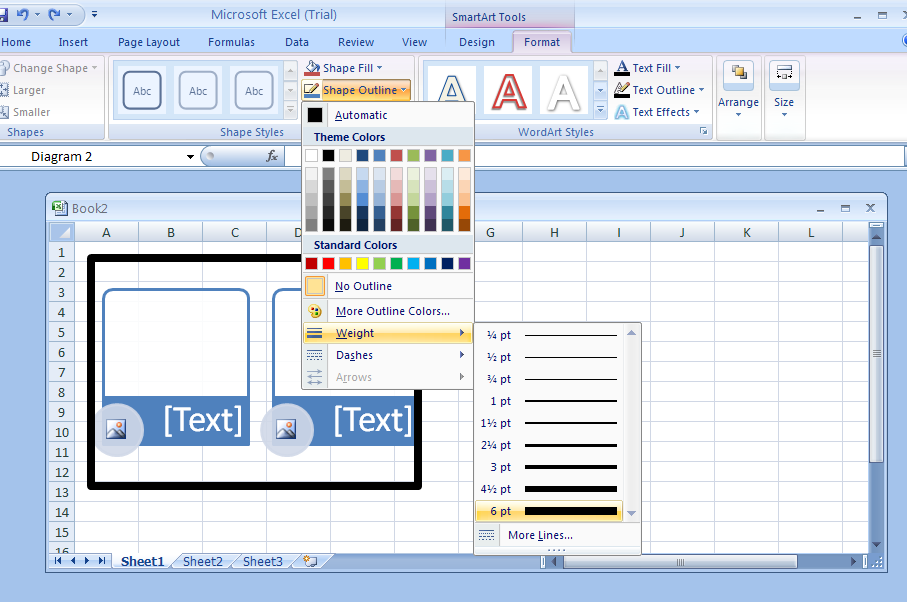
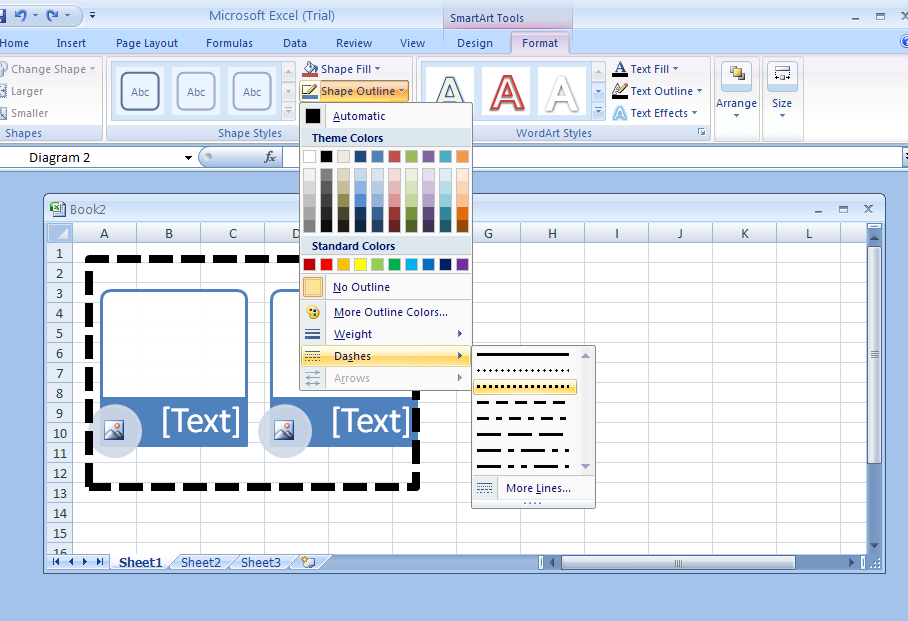
Apply a Shape Outline to a SmartArt Graphic

Select the shapes in the SmartArt graphic. 
           Click the Format tab under SmartArt Tools. 
           Click the Shape Outline button.
Select the shapes in the SmartArt graphic. Click the Format tab under SmartArt Tools. Click the Shape Outline button.
Color outline
Color outline
No Outline
No Outline
Outline Weight
Outline Weight
Outline with Dashes
Outline with Dashes